Rotary Friction Welding - Testing Process
Friction is usually considered a nuisance in motion control. But if put to correct use, it results in one of the best forms of metal joining techniques.
The following test procedures are conducted, to certify the authenticity of the weld during run-off, for a new machine.
1. Bend Test
The welded piece is sectioned and machined to form 4 longitudinal strips of 8mm width x 5mm thick. They are bent to 90 deg. on a bench vise. Clamping and bending is done at the point of weld.
For smaller pieces, the welded material as such undergoes bent test as shown.

2. Micro Hardness
A section of the weld is cut, machined and polished. The micro hardness is recorded at the weld and at every 1mm up to 5mm, on either side of the weld, also known as the Heat Affected Zone.


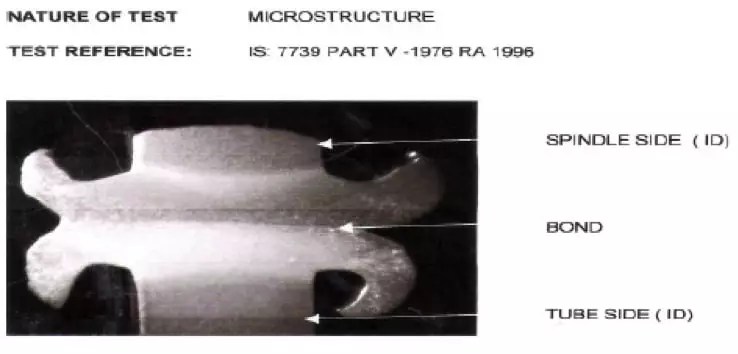
3. Micro Structure
The bonding is magnified and its structure is subjected to a microscopic analysis to check for cracks and blowholes.


4. Tensile Test
The tensile test of the welded specimen is conducted on a UTM. The weld should never break. The weaker of the two materials yields.
Different specimens are as shown below:


Tests are carried out at NABL accredited Laboratory.
Sample results

The following test procedures are conducted, to certify the authenticity of the weld during run-off, for a new machine.
1) Bend Test.
The welded piece is sectioned and machined to form 4 longitudinal strips of 8mm width x 5mm thick. They are bent to 90deg. on a bench vise. Clamping and bending is done at the point of weld.
For smaller pieces, the welded material as such undergoes bent test as below.

2) Micro Hardness. A section of the weld is cut, machined and polished. The micro hardness is recorded at the weld and at every 1mm up to 5mm, on either side of the weld, also known as the Heat Affected Zone.


3) Micro Structure.
The bonding is magnified and its structure is subjected to a microscopic analysis to check for cracks and blowholes.


4) Tensile Test
The tensile test of the welded specimen is conducted on a UTM. The weld should never break. The weaker of the two materials yields.
Different specimens are as shown below:


Tests are carried out at NABL accredited Laboratory.
Sample results
